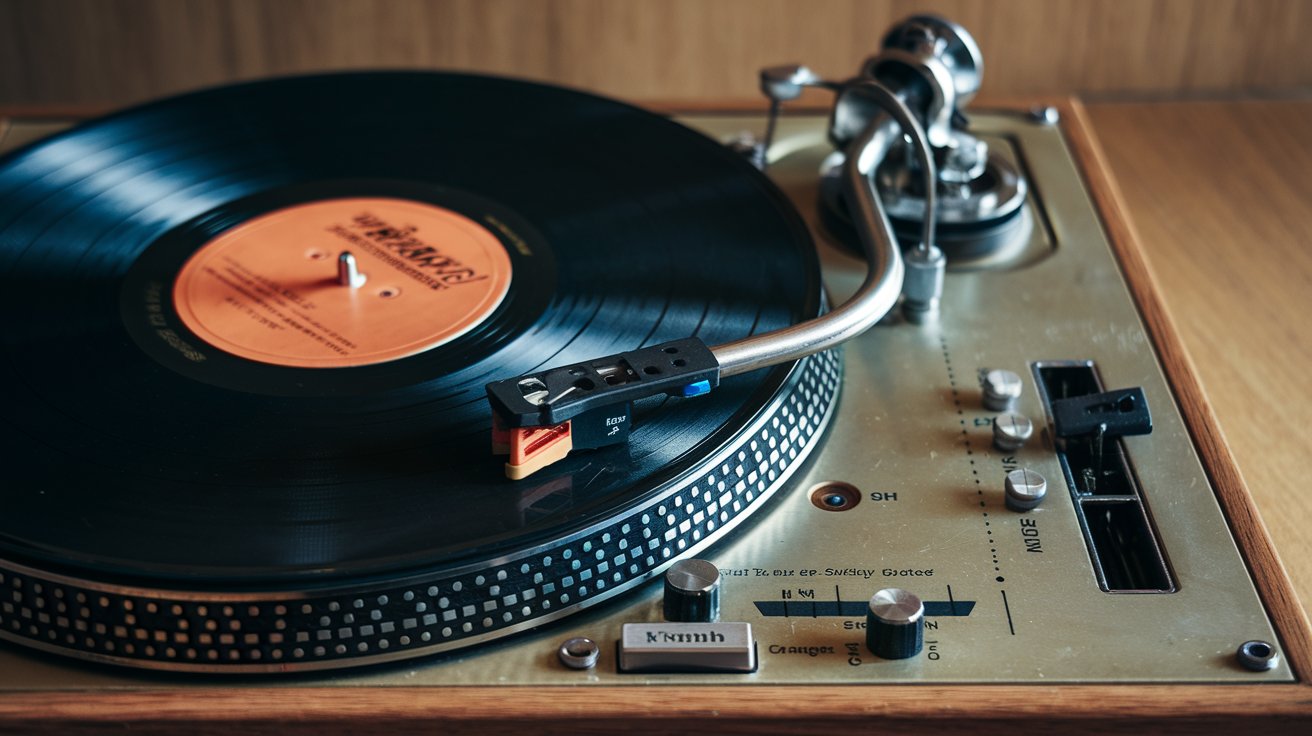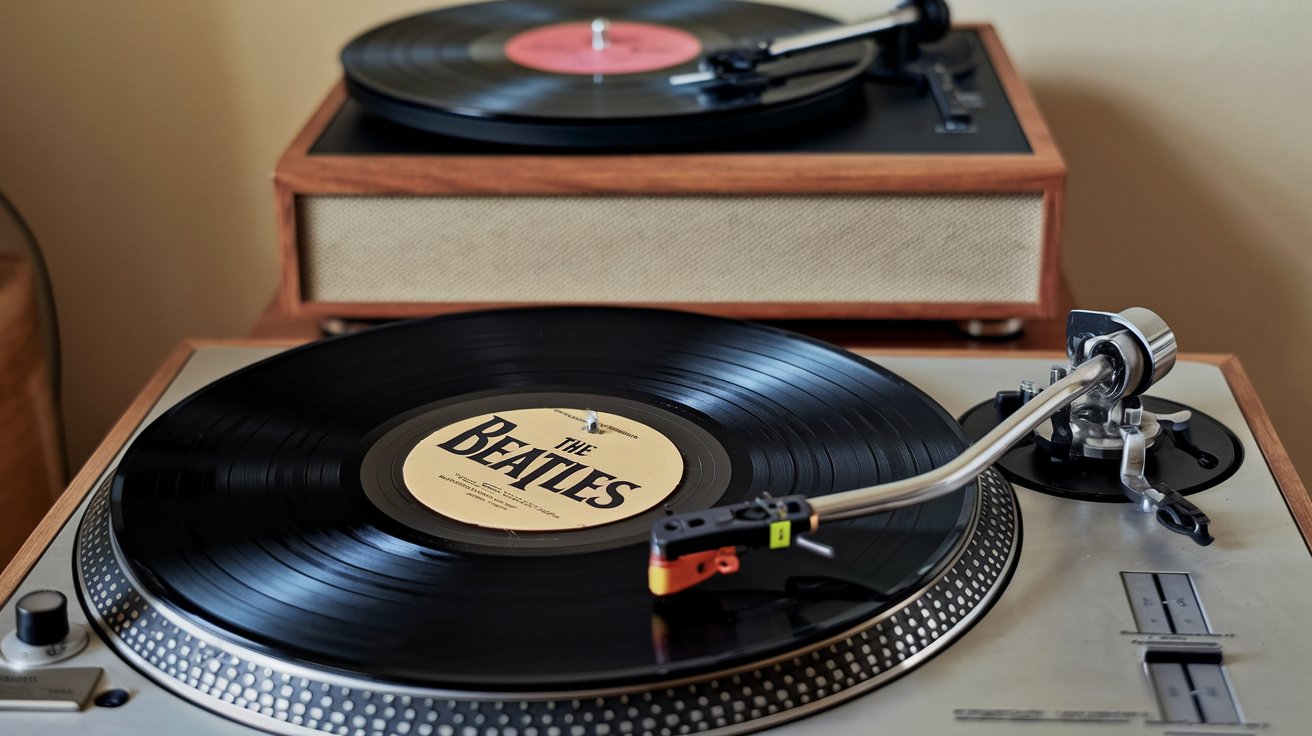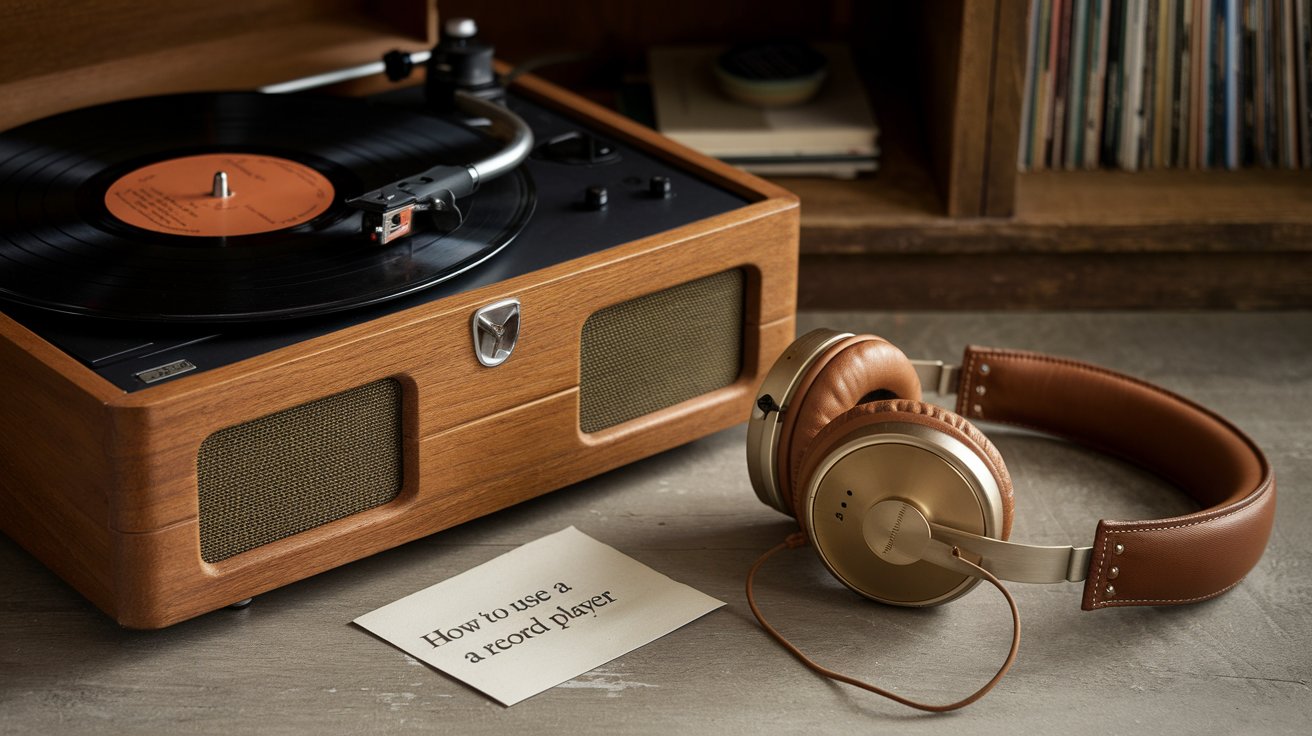
Using a record player involves placing your vinyl on the platter, selecting the correct speed (33, 45, or 78 RPM), and gently cueing the tonearm onto the record’s outer groove. As vinyl sales in the United States reached 49 million units in 2025, more enthusiasts are discovering the warm, authentic sound quality that only analog playback delivers. This comprehensive guide walks you through every step from initial setup to proper maintenance, ensuring optimal performance from popular brands like Crosley, Victrola, and Audio-Technica.
Getting Your Record Player Ready
Before playing your first vinyl record, proper setup ensures the best sound quality and prevents damage to both your records and equipment. Most modern turntables sold in 2026 come partially assembled, but critical adjustments affect playback performance. Position your record player on a completely flat, stable surface away from speakers to prevent vibration feedback that causes skipping and distortion.
Remove all protective packaging including stylus guards, tonearm ties, and platter transit screws that secure components during shipping. Many beginners forget to remove the small plastic protector covering the needle, which prevents sound entirely. Check your model’s manual for the counterweight setting, as proper tracking force typically ranges from 1.5 to 3 grams depending on your cartridge type. Incorrect tracking force causes premature record wear or skipping issues that frustrate new users.
Finding the Perfect Location
Your record player location dramatically impacts sound quality and equipment longevity. Choose a dedicated surface at least 18 inches away from external speakers to minimize acoustic feedback vibrations. Avoid placing your turntable near heating vents, direct sunlight, or humid areas like bathrooms, as temperature fluctuations warp records and degrade components. A sturdy bookshelf, dedicated audio rack, or solid wood furniture works better than flimsy tables that amplify vibrations.
Level your surface using a bubble level tool, as even slight tilts cause the tonearm to drift and create uneven record wear. Many 2026 Victrola and Audio-Technica models include adjustable feet for fine-tuning. Keep your setup away from high-traffic areas where accidental bumps interrupt playback. Professional vinyl enthusiasts in the United States often invest in isolation platforms or specialized turntable stands that absorb vibrations and improve sound clarity by up to 30%.
Connecting to Speakers or Amplifiers
Understanding connection types determines how you get your record player working with your audio system. Entry-level models like Crosley suitcase players include built-in speakers, requiring only power connection to begin playback. Mid-range turntables feature RCA output cables (red and white connectors) that connect to powered speakers, home stereo receivers, or dedicated phono preamps for audiophile-grade sound quality.
Check whether your turntable has a built-in preamp by looking for a phono/line switch on the back panel. Without a preamp, sound outputs extremely quiet and tinny. Modern 2026 Bluetooth-enabled models like the Audio-Technica AT-LP60XBT allow wireless connection to Bluetooth speakers, though wired connections provide superior audio fidelity. Always power off equipment before connecting cables to prevent electrical damage or speaker pops that frighten beginners during their first setup attempt.
Playing Your First Vinyl Record
The moment you play vinyl records requires gentle handling and proper technique to avoid damage. Remove your record from its protective sleeve by holding only the edges and center label, never touching the grooved playing surface where oils from fingers attract dust and cause playback noise. Inspect the record under good lighting for visible scratches, dust, or debris that should be cleaned before playing to protect your delicate stylus.
Understanding proper cueing technique separates experienced vinyl enthusiasts from beginners who accidentally scratch records. Modern record players in the United States market typically feature automatic, semi-automatic, or manual operation modes. Automatic models handle everything with button presses, semi-automatic versions require manual start but auto-return at record end, while fully manual turntables demand complete user control over tonearm movement and placement throughout the listening experience.
Placing the Record on the Platter
Center your vinyl carefully on the platter spindle, ensuring it sits completely flat without wobbling. The center hole should slide easily onto the spindle without forcing, which indicates proper alignment. Some 2026 turntable models include a rubber mat on the platter that reduces slippage and dampens vibrations, while others feature bare metal platters that some audiophiles prefer for tighter bass response.
For 7-inch singles or 45 RPM records with large center holes, locate the plastic adapter (often yellow or red) that came with your record player. This adapter fits over the spindle and fills the larger hole, allowing smaller records to play centered. Verify the record sits level by gently pressing around its edges before starting playback. Warped records that rock back and forth cause pitch fluctuations and excessive stylus wear, requiring professional flattening services or replacement.
Selecting the Correct Speed
Most vinyl records play at one of three speeds: 33⅓ RPM for standard 12-inch albums, 45 RPM for singles and some audiophile releases, or 78 RPM for vintage shellac records from before 1958. Your record label clearly indicates the required speed, usually printed near the center. Playing at incorrect speeds produces comically slow or chipmunk-fast sound that immediately signals operator error to beginners.
Modern 2026 turntables feature clearly marked speed switches or buttons on the front panel or base. Crosley and Victrola entry models typically offer 33 and 45 RPM options, while professional DJ turntables include variable pitch control for mixing. Some vintage jazz and classical albums were mastered at 45 RPM across two 12-inch discs to improve dynamic range and reduce inner-groove distortion. Always verify speed before lowering the tonearm to prevent confusion and potential stylus damage from excessive lateral movement.
Cueing the Tonearm Correctly
Proper tonearm cueing represents the most critical skill for beginners learning how to use a record player. For automatic turntables, simply press the start button and the mechanism handles tonearm placement precisely. Semi-automatic and manual models require you to lift the tonearm using the cueing lever (never by hand) and position it over the record’s outer groove, typically about half an inch from the record’s edge.
Lower the cueing lever slowly, allowing the hydraulic damping system to gently place the needle into the groove without bouncing or scratching. Rushing this step causes audible thuds through speakers and potential stylus damage. The cueing lever on quality 2026 models provides smooth, controlled descent that protects both record and cartridge. Many users ask ‘where do you put the needle on a vinyl?’ – aim for the shiny lead-in groove before the music starts, which guides the stylus naturally into the first track’s groove.
Operating Different Record Player Types
Understanding your specific record player model ensures proper operation and prevents common mistakes. Crosley suitcase models dominate the entry-level market in the United States with approximately 2.3 million units sold in 2025, featuring built-in speakers and simple operation ideal for casual listeners. These portable units prioritize convenience over audiophile sound quality, making them perfect for dorm rooms, small apartments, or vinyl beginners testing their interest before investing in premium equipment.
Victrola record player models span entry to mid-range markets, offering better build quality than budget Crosley units while remaining affordable at $80-$300 in 2026. Their wooden construction and improved tonearm design deliver noticeably better sound reproduction. High-end Audio-Technica, Pro-Ject, and Rega turntables incorporate precision engineering, adjustable components, and audiophile-grade cartridges that reveal subtle details in recordings that budget players cannot reproduce accurately.
Using Crosley Record Players
To use a Crosley record player, open the lid, ensure the tonearm lock is released (usually a small clip securing it during transport), and set the speed dial to match your record. Place your vinyl on the platter and move the tonearm manually to the record’s edge. Most Crosley models lack auto-return features, so you must manually return the tonearm and stop the platter when the record finishes to prevent endless run-out groove repetition.
The built-in speakers on Crosley units provide adequate volume for small rooms but lack bass depth and dynamic range. Consider connecting external speakers via the RCA outputs found on back panels of most 2026 models for significantly improved sound quality. Replace the factory ceramic cartridge with an upgraded magnetic cartridge if your model allows, as this single modification dramatically enhances playback fidelity and reduces record wear caused by excessive tracking force in standard Crosley configurations.
Operating Victrola Turntables
Victrola record player operation varies by model series. Their Navigator and Eastwood lines feature Bluetooth connectivity allowing wireless streaming from smartphones while maintaining traditional vinyl playback capability. To play records on these units, power on the device, ensure it’s set to phono mode (not Bluetooth), and follow standard placement and cueing procedures detailed earlier in this guide.
Many 2026 Victrola models include built-in encoding that allows direct USB connection to computers for vinyl digitization projects. The Revolution GO portable model features rechargeable batteries for outdoor use, expanding where and how vinyl enthusiasts enjoy their collections. Always store portable models with the tonearm secured and platter locked to prevent damage during transport, as moving components suffer wear from jostling and vibration exposure.
Stopping and Ending Playback
Knowing how to stop a record player properly extends equipment life and prevents record damage. When your album finishes, the stylus enters the run-out groove that loops endlessly unless you intervene. Automatic turntables sense this condition and return the tonearm to its rest position while stopping platter rotation. Semi-automatic models stop spinning but require manual tonearm return using the cueing lever.
For manual turntables, lift the cueing lever to raise the tonearm, swing it gently back to the rest position, and engage the tonearm lock if your model includes one. Only then should you stop the platter by pressing the stop button or switching off power. Never attempt to stop a spinning platter with your hand, as this can damage the motor, belt, or direct-drive mechanism depending on your turntable’s drive system configuration.
Proper Record Removal
Wait until the platter completely stops spinning before removing your vinyl record to prevent warping or edge damage. Lift the record by holding the edges and center label simultaneously, never touching the grooved surface where fingerprints attract dust and degrade sound quality over time. Immediately return the record to its inner sleeve, sliding it in sideways to avoid scratching, then place the inner sleeve back into the outer jacket with the opening facing upward or inward to prevent dust accumulation.
Store records vertically like books on a shelf, never stacked horizontally where bottom records suffer warping from weight pressure. Maintain storage temperatures between 65-70°F with 45-50% relative humidity for optimal preservation. In the United States, improper storage damages approximately 15% of vinyl collections annually according to 2025 data from the Vinyl Record Manufacturers Association, making proper handling after playback as important as technique during listening sessions.
Essential Record Player Maintenance
Regular maintenance prevents 80% of common turntable problems and extends equipment lifespan significantly. Professional technicians in the United States report that neglected record players develop tracking issues, speed inconsistencies, and premature component failure within 18-24 months, while properly maintained units operate flawlessly for decades. Establish a simple routine addressing stylus cleaning, belt inspection, and general component care to maximize your investment.
Clean your stylus after every 4-6 hours of playback using a specialized stylus brush moved from back to front (never side to side) to remove accumulated dust and debris. Inspect the needle under magnification every few months for visible wear, as worn styli damage record grooves permanently. Most cartridges require replacement after 500-1000 hours of use, though tracking heavy records or playing damaged vinyl accelerates wear substantially.
Caring for the Stylus and Cartridge
Your stylus represents the most delicate component requiring gentle care and periodic replacement. Never touch the diamond tip with fingers, as oils transfer and attract debris that scratches records and produces crackling noise. Use a dedicated carbon fiber stylus brush or Mr. Clean Magic Eraser (cut into small cubes) to clean the needle, moving only from rear to front following the stylus’s natural movement direction during playback.
Upgrade from factory-installed cartridges on budget turntables to dramatically improve sound quality and reduce record wear. The Audio-Technica VM95E ($49 in 2026) offers excellent entry-level performance, while the Ortofon 2M Red ($99) delivers audiophile-grade sound for enthusiasts wanting premium reproduction. When installing new cartridges, carefully align the stylus using a protractor tool to ensure proper tracking angle and azimuth, as misalignment causes uneven channel balance and accelerated groove wear affecting your entire vinyl collection.
Belt Replacement and Drive Maintenance
Belt-driven record players require belt replacement every 3-5 years as rubber deteriorates, stretches, and loses elasticity. Signs your belt needs replacement include inconsistent speed, platter wobble, or failure to reach proper RPM. Replacement belts cost $8-15 in 2026 and installation typically takes 10-15 minutes following manufacturer instructions available online for popular brands like Crosley and Victrola.
To replace a belt, remove the platter (usually lifts straight up), loop the new belt around the motor pulley and platter ring according to your model’s specifications. Ensure proper tension without excessive stretching that causes premature failure. Direct-drive turntables eliminate belt maintenance but occasionally require lubrication of the spindle bearing. Apply one small drop of specialized turntable bearing oil annually to maintain smooth, quiet rotation that preserves motor longevity and playback accuracy for professional-grade performance.
Cleaning Records and Equipment
Clean vinyl records improve sound quality dramatically and protect your expensive stylus from premature wear. Use a carbon fiber brush before each play to remove surface dust by rotating the record while holding the brush statically against the grooves. For deeper cleaning, invest in a record cleaning solution and microfiber cloth, working in circular motions following the grooves. Never use household cleaners, tap water, or alcohol-based products that damage vinyl composition and leave residue.
Professional record cleaning machines starting at $79 for 2026 entry models provide optimal results for serious collectors. These devices apply cleaning solution while spinning the record, then vacuum-extract dirt and solution simultaneously. Keep your turntable dust-free with a protective cover when not in use and periodically wipe the platter mat, tonearm, and chassis with a dry microfiber cloth. In the United States, proper cleaning extends record playability by an average of 40% according to Library of Congress preservation data, making maintenance an investment rather than an expense.
Troubleshooting Common Issues
Most beginners encounter similar problems when learning how to operate a record player. Skipping usually results from incorrect tracking force, damaged records, or accumulated stylus debris. If sound plays too fast or slow, verify the speed selector matches your record’s specifications and check belt condition on belt-driven models. No sound output typically indicates disconnected cables, incorrect phono/line switch position, or powered-off external components in your audio chain.
Buzzing or humming sounds often stem from improper grounding. Locate the grounding wire (usually a thin copper wire with spade connector) on your turntable and connect it to your amplifier’s ground terminal. Records sounding muffled or lacking bass suggest your turntable outputs phono-level signal but connects to line-level inputs, requiring a phono preamp insertion. The opposite scenario (distorted, overly loud sound) indicates phono-level input receiving line-level signal, fixed by adjusting the phono/line switch on turntables equipped with built-in preamps common in 2026 models.
Enhancing Your Listening Experience
Maximizing enjoyment from your vinyl collection extends beyond basic operation. Experiment with speaker placement for optimal stereo imaging, positioning them at equal distances from your listening position forming an equilateral triangle. Upgrade to quality powered speakers if using a budget record player, as speakers contribute approximately 50% of overall sound quality in typical home systems according to 2025 audio engineering studies conducted across United States markets.
Consider environmental factors affecting playback. Relative humidity below 35% increases static electricity that attracts dust to records and generates popping sounds. Use an anti-static record brush and maintain 45-50% humidity with a room humidifier during dry winter months. Temperature stability prevents record warping and maintains consistent playback speed, as motor performance varies with extreme heat or cold exposure in non-climate-controlled spaces.
Using External Speakers with Record Players
Learning how to use a record player with speakers dramatically improves sound quality over built-in options. Powered (active) speakers include built-in amplification and connect directly to your turntable’s RCA outputs, offering the simplest upgrade path for beginners. Popular 2026 options include Edifier R1280DB ($149) and Audioengine A2+ ($269) delivering room-filling sound that reveals detail impossible from portable player speakers.
Passive speakers require a separate amplifier or receiver between turntable and speakers. Ensure your amplifier includes a phono input if your turntable lacks a built-in preamp, or purchase an external phono preamp ($49-$200) providing necessary RIAA equalization. Connect turntable to preamp, preamp to amplifier, then amplifier to speakers using appropriate cables. This configuration allows component upgrading over time as your appreciation develops and budget permits expanding into audiophile-grade equipment delivering stunning reproduction quality.
First-Time User Tips
When using a record player for the first time, start with affordable used records to practice handling before playing valuable collectibles. Thrift stores and used record shops in the United States offer $1-3 records perfect for learning proper cueing technique without risking expensive pressings. Accept that minor surface noise represents normal vinyl characteristics, distinguishing analog warmth from digital perfection.
Document your initial setup including tracking force, anti-skate settings, and cartridge alignment for future reference after accidental adjustments. Join online communities like r/vinyl on Reddit or Vinyl Engine forums where experienced collectors share troubleshooting advice and setup optimization techniques. Most importantly, enjoy the ritual aspect of vinyl playback rather than treating it as background music. The tactile engagement of handling records, cleaning them, and actively choosing what to play creates mindful listening experiences impossible with streaming services’ passive consumption model that dominates 2026 music culture.
Related video about how to use a record player
This video complements the article information with a practical visual demonstration.
Key Questions and Answers
How do I get my record player to work if there’s no sound?
First verify your record player powers on and the platter spins when engaged. Check that the tonearm moves freely and the stylus protective cover is removed. Confirm RCA cables connect securely to powered speakers or amplifier inputs. Verify the phono/line switch matches your connection type – select phono if connecting to a phono input, or line if using built-in preamp to powered speakers. Ensure external speakers power on and volume adjusts upward. If using an amplifier, confirm the correct input source selection and adequate volume level. Finally, inspect the stylus for damage and verify the cartridge wires connect properly to the tonearm’s headshell terminals.
Where do you put the needle on a vinyl record?
Position the needle on the shiny lead-in groove approximately half an inch from the record’s outer edge, before the first track begins. This smooth, unmodulated area guides the stylus naturally into the first track’s groove without risk of dropping mid-song and potentially scratching the record. Use the cueing lever to raise the tonearm, position it over this outer area while the platter spins, then slowly lower the lever allowing the hydraulic dampening to gently place the stylus. Never attempt to hand-lower the tonearm directly onto the record, as this risks scratching and cartridge damage. For side B or specific tracks, consult the record label for track positioning or carefully cue between visible groove spacing where songs separate.
How to use a record player for beginners step by step?
Start by placing your turntable on a flat, stable surface away from speakers. Remove all packaging including stylus guards and transit screws. Connect power and audio cables to powered speakers or amplifier. Place a clean record on the platter, ensuring it sits centered and flat. Set the speed switch to match your record (typically 33 or 45 RPM). Release the tonearm lock and use the cueing lever to lift it. Position the tonearm over the record’s outer groove, then slowly lower the cueing lever to start playback. When the record finishes, lift the cueing lever to raise the tonearm, return it to the rest position, and stop the platter. This complete process takes approximately 60-90 seconds once you develop familiarity with your specific model’s operation.
How often should I clean my record player stylus?
Clean your stylus after every 4-6 hours of playback or before listening sessions if your turntable sits unused for several days. Dust accumulates on the diamond tip even when not playing, affecting sound quality and potentially scratching records. Use a specialized carbon fiber stylus brush or stylus cleaning solution, always brushing from back to front following the needle’s natural movement direction. For heavy use situations, daily cleaning prevents buildup that causes distortion and mistracking. Inspect the stylus under magnification every 2-3 months for visible wear. Replace the cartridge after 500-1000 hours of use, as worn styli permanently damage record grooves and degrade your entire vinyl collection gradually over time through repeated plays with compromised playback equipment.
Can I play a record player without speakers?
Entry-level record players like many Crosley and Victrola models include built-in speakers that work immediately after plugging in power, requiring no external audio equipment. However, these integrated speakers provide minimal sound quality with limited bass response and low maximum volume. Mid-range and audiophile turntables lack built-in speakers and absolutely require powered speakers or an amplifier-passive speaker combination to produce audible sound. Some vintage players included rudimentary speakers, but 2026 quality turntables focus on signal accuracy, delegating amplification to dedicated components. If your turntable has only RCA outputs without built-in speakers, you cannot hear playback without connecting external audio equipment that amplifies the weak phono-level signal to speaker-driving power levels.
What speed should I play my vinyl records?
Check your vinyl record label near the center spindle hole where the required speed is printed: 33⅓ RPM for standard 12-inch albums, 45 RPM for 7-inch singles and some audiophile 12-inch releases, or 78 RPM for vintage shellac records pressed before 1958. Most contemporary records released from 1950 onward play at 33⅓ RPM, which became the industry standard for long-playing albums containing 20-45 minutes of music per side. Some 2026 audiophile reissues use 45 RPM across multiple discs to improve dynamic range and reduce inner-groove distortion. Playing records at incorrect speeds produces obviously wrong pitch – too slow sounds muddy and draggy, too fast creates chipmunk-effect vocals. Always verify the label before lowering the stylus to prevent confusion and unnecessary tonearm movement.
| Key Aspect | Important Details | Benefit |
|---|---|---|
| Proper Setup | Level surface, correct tracking force, secure connections | Prevents skipping and record damage |
| Speed Selection | 33⅓ RPM for albums, 45 RPM for singles, match record label | Ensures correct pitch and sound quality |
| Cueing Technique | Use cueing lever, place needle on outer lead-in groove | Protects stylus and prevents scratches |
| Stylus Maintenance | Clean after 4-6 hours, replace after 500-1000 hours | Extends record life and sound fidelity |
| Record Care | Handle by edges, store vertically, clean before playing | Preserves collection value and playability |
| Speaker Connection | Use powered speakers or amplifier with proper preamp | Dramatically improves sound over built-in speakers |